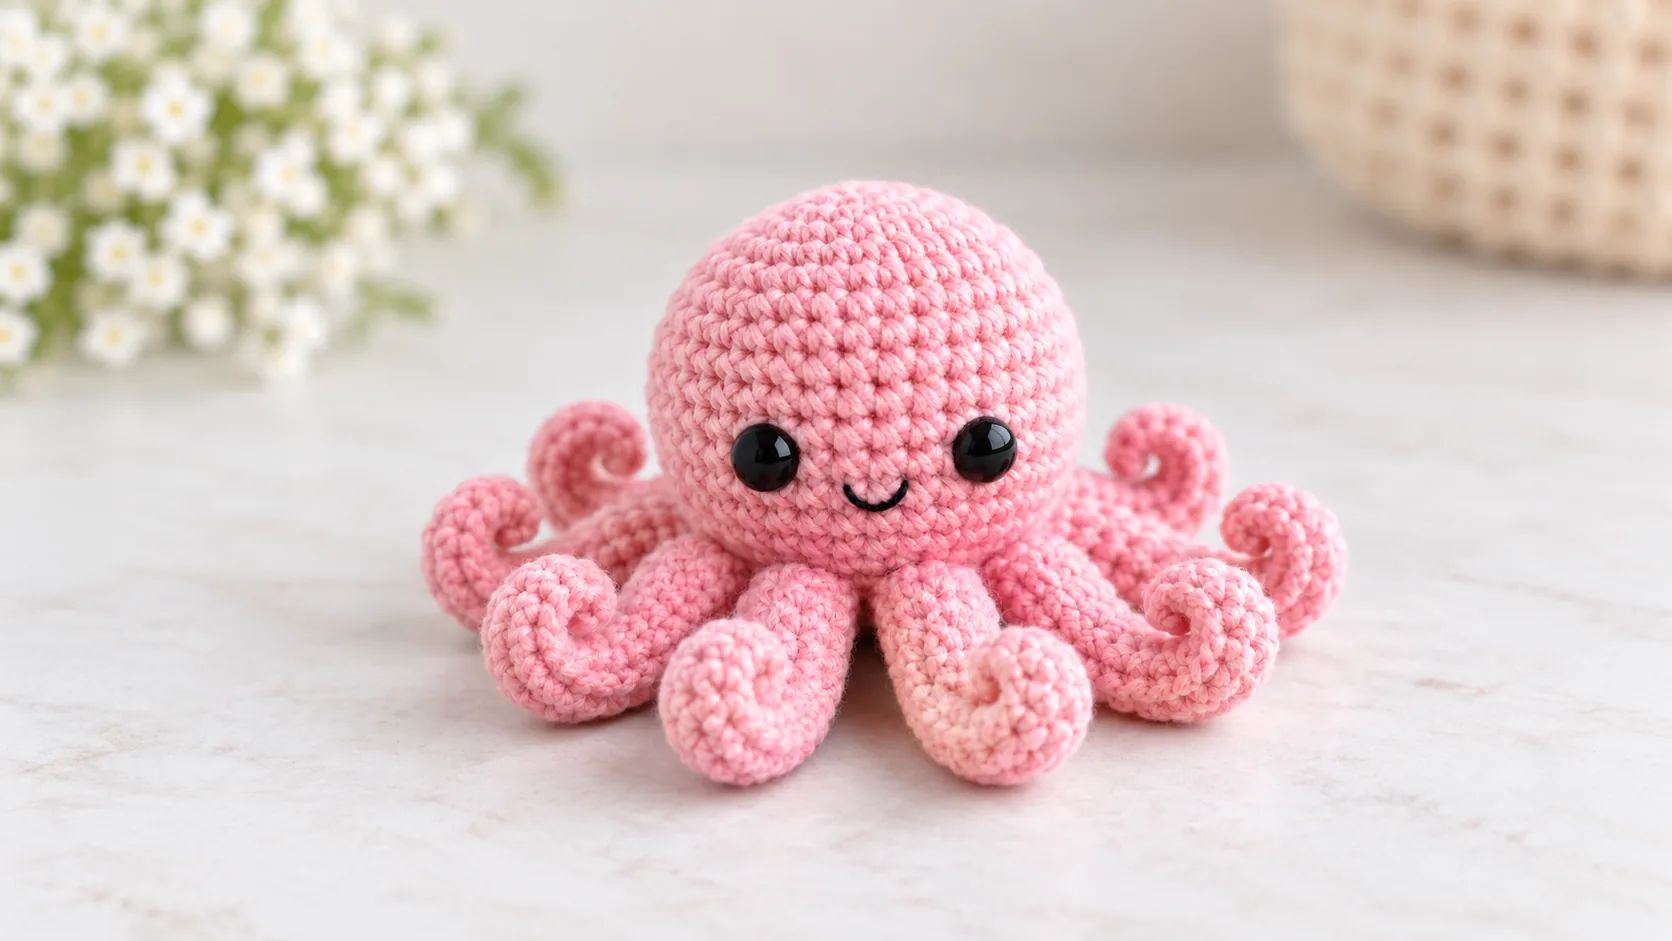
If you want a quick crochet project with almost no finishing work, this no sew octopus crochet pattern is a great place to start. The head and body are worked in continuous rounds, and all eight tentacles are crocheted directly into the front loops at the base. There are no separate arms to attach later.
This pattern is designed for confident beginners who already know how to make a magic ring, single crochet, increase, decrease, chain, and slip stitch. If you are building a collection of quick projects, you can also explore our No Sew Amigurumi Patterns guide for more beginner-friendly ideas.
No Sew Octopus Crochet Pattern at a Glance
- Skill level: Beginner
- Terminology: US crochet terms
- Construction: Continuous rounds from the top down
- Assembly: No separate tentacles to sew on
- Yarn: Worsted weight cotton or acrylic
- Hook: 3.5 mm
- Finished size: About 8 to 10 cm tall depending on tension and yarn
- Estimated yarn: About 25 to 35 m
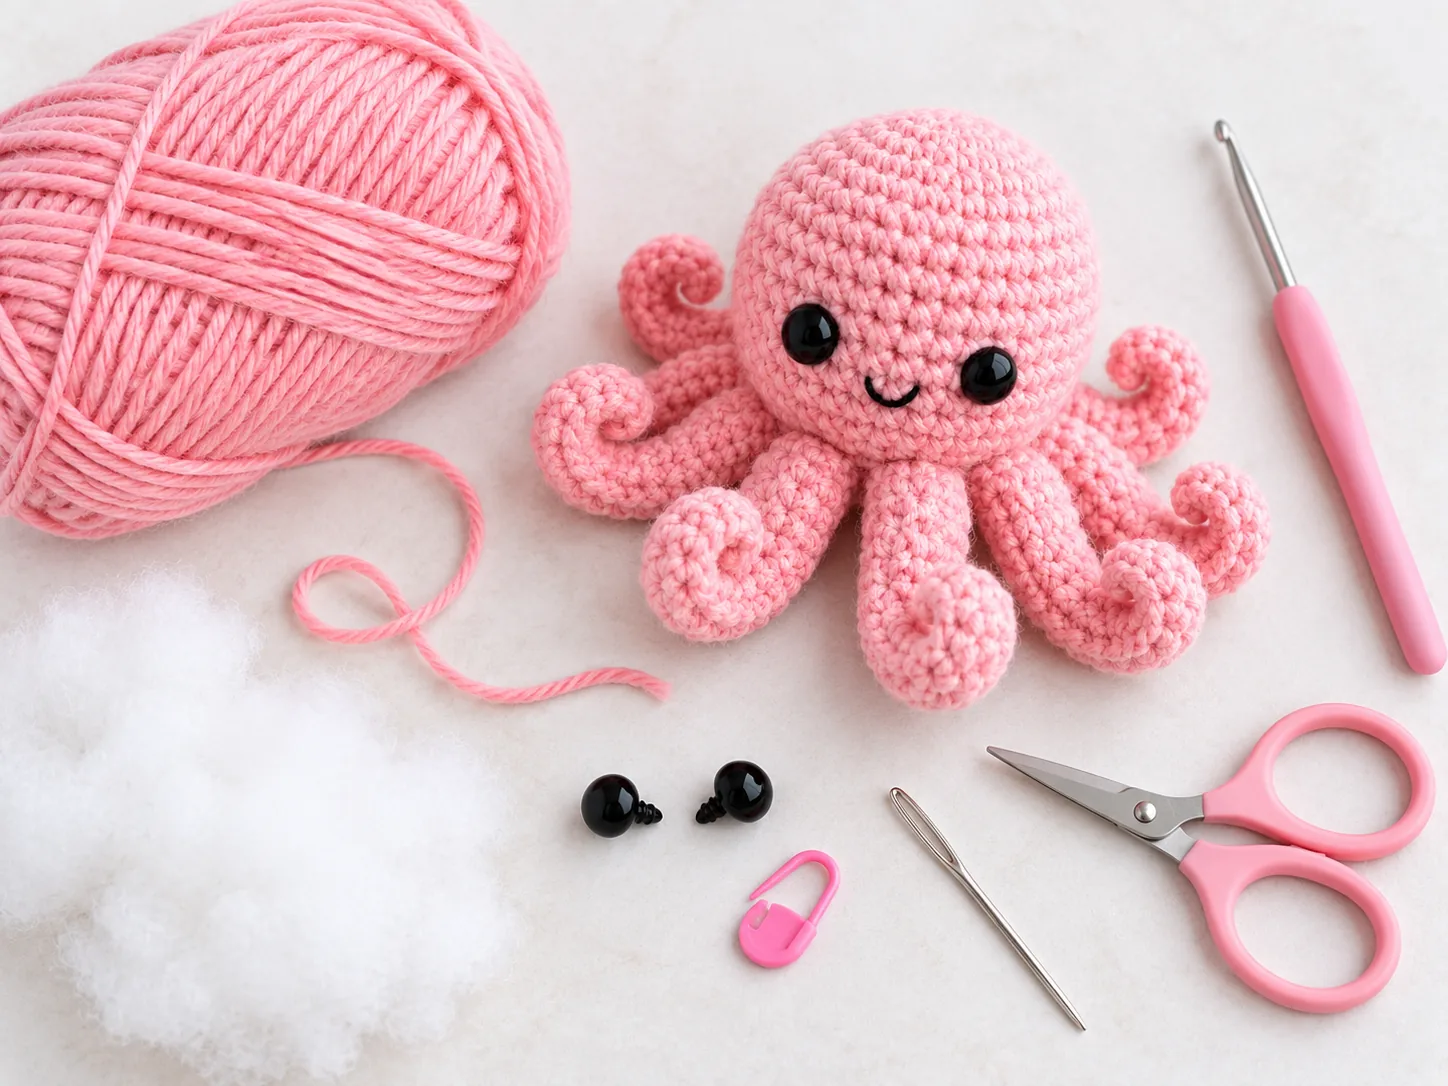
Materials
- Worsted weight yarn in one main color
- 3.5 mm crochet hook
- Polyester fiberfill
- Two 7 to 9 mm safety eyes, or black yarn for embroidered eyes
- Stitch marker
- Yarn needle
- Scissors
You can also make this octopus with chenille yarn for a softer plush version. Use a hook that keeps your stitches tight enough to stop the stuffing from showing. The finished size will increase considerably with bulky or super bulky yarn.
Crochet Abbreviations
| Abbreviation | Meaning |
|---|---|
| MR | Magic ring |
| ch | Chain |
| sc | Single crochet |
| inc | Increase: 2 sc in the same stitch |
| dec | Invisible decrease |
| sl st | Slip stitch |
| FLO | Front loop only |
| BLO | Back loop only |
| st / sts | Stitch / stitches |
Pattern Notes
- Work in continuous rounds unless the pattern says otherwise.
- Do not join rounds with a slip stitch.
- Place a stitch marker in the first stitch of every round.
- The number in parentheses at the end of each round is the total stitch count.
- Stuff firmly but do not overstuff.
- The tentacles are created directly from the front loops at the bottom of the body.
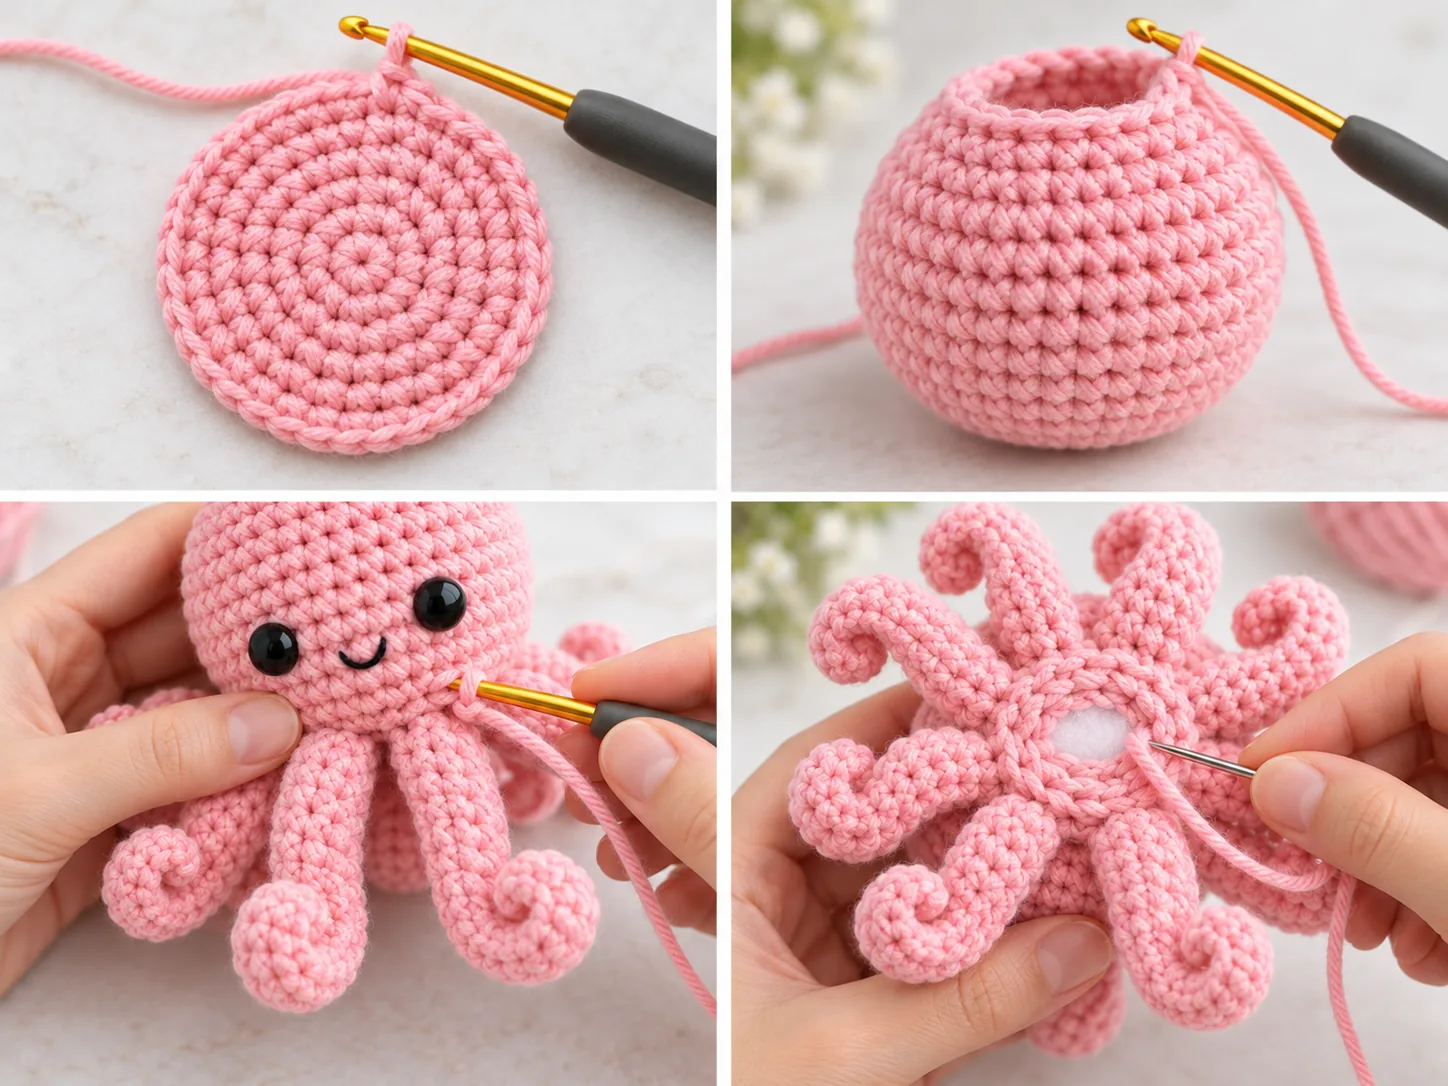
Step 1: Crochet the Head and Body
Start at the top of the octopus and work downward.
- Round 1: Make 8 sc in a MR. (8)
- Round 2: inc in each st around. (16)
- Round 3: [sc, inc] x 8. (24)
- Round 4: [2 sc, inc] x 8. (32)
- Rounds 5 to 10: sc around. (32)
- Round 11: [2 sc, dec] x 8. (24)
- Round 12: [sc, dec] x 8. (16)
Step 2: Add the Eyes
Place the safety eyes between Rounds 7 and 8, approximately 6 stitches apart. Check the face from the front before securing the washers. Small changes in eye spacing can completely change the expression.
If the octopus is intended for a baby or very young child, use embroidered eyes instead of detachable safety eyes.
Step 3: Stuff the Octopus
Add fiberfill gradually through the open base. Push a small amount into the top of the head first, then fill the sides. The shape should feel firm but still slightly soft when squeezed. Leave enough room near the opening so you can work comfortably into the remaining stitches.
Step 4: Crochet the Eight Tentacles
For this section, work only through the front loops of the 16 stitches from Round 12. Each tentacle uses two body stitches.
Tentacle repeat: sl st in FLO of the next stitch, ch 12, starting in the second chain from the hook work 2 sc in each chain back toward the body, then sl st in FLO of the next body stitch.
Repeat this sequence 8 times around the body. You will finish with eight spiral tentacles and all 16 front loops used.
If you want curlier tentacles, work 3 sc into each chain instead of 2. If you prefer looser waves, use 2 sc in each chain as written.
Step 5: Close the Bottom
Fold the tentacles upward so you can see the unused back loops from Round 12. Join the yarn to any free back loop and continue working around the base.
- Base Round 1: working in the 16 unused BLO, [2 sc, dec] x 4. (12)
- Add a little more stuffing if needed.
- Base Round 2: dec x 6. (6)
- Fasten off, leaving a short tail.
- Thread the tail through the front loops of the remaining 6 stitches and pull firmly to close.
- Hide the yarn tail inside the body.
How the Finished Octopus Should Look
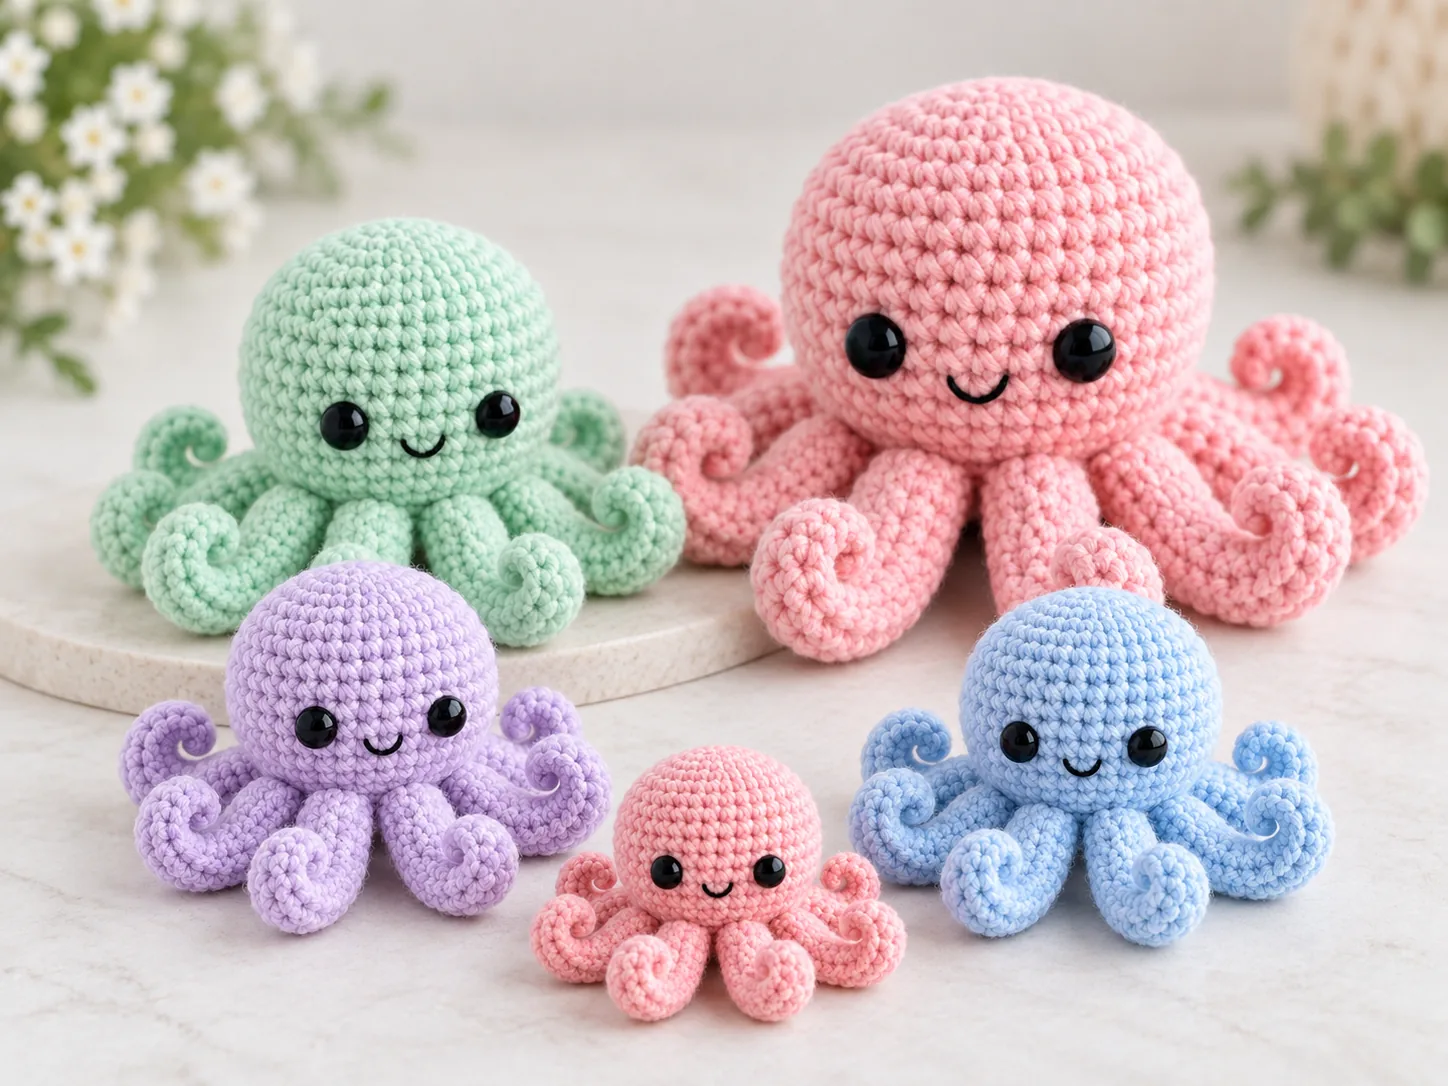
The finished octopus should have a rounded head, a slightly narrower base, and eight evenly spaced spiral tentacles. With worsted weight yarn and a 3.5 mm hook, expect a small palm-sized amigurumi approximately 8 to 10 cm tall including the tentacles. Your exact size will vary with yarn, hook, and tension.
How to Make the Octopus Smaller or Larger
The easiest way to change the size is to change the yarn weight and hook while keeping the stitch counts the same.
| Version | Yarn | Suggested Hook | Result |
|---|---|---|---|
| Mini | Sport or DK | 2.5 to 3 mm | Small keychain-style octopus |
| Standard | Worsted | 3.5 mm | Palm-sized amigurumi |
| Plush | Chenille / super bulky | 5 to 6 mm | Larger soft plushie |
Beginner Tips for Better Results
Keep Your Stitches Tight
Amigurumi should usually be worked more tightly than garments. If you can see fiberfill through the fabric, try a slightly smaller hook.
Count Every Round
The tentacle placement depends on having exactly 16 stitches at the base. If Round 12 has more or fewer than 16 stitches, correct the count before starting the tentacles.
Do Not Overstuff the Base
Too much stuffing near the final rounds makes the back loops difficult to reach and can push the tentacles outward. Keep the base slightly softer than the head.
Check Eye Placement Before Locking the Washers
Safety eye backs are difficult to remove once attached. Look at the octopus from the front and from above before securing them.
Troubleshooting
My Tentacles Are Not Curling
Make sure you are working two single crochets into each chain on the return row. The extra stitches force the chain to spiral. For a stronger curl, use three single crochets per chain.
My Tentacles Are Different Lengths
Count 12 chains for every tentacle and begin the return stitches in the second chain from the hook each time. Keeping the same tension also helps all eight arms match.
The Bottom Has a Hole
After the final six decreases, use the yarn tail to pass through the front loops of all six remaining stitches. Pull the opening closed like a drawstring instead of trying to crochet more decreases into a very small space.
Easy Variations
- Sleepy octopus: embroider curved closed eyes instead of using safety eyes.
- Two-color octopus: make the head one color and the tentacles a contrasting color.
- Rainbow tentacles: change color for each pair of tentacles.
- Mini keychain: use thinner yarn and add a keyring through the top.
- Plush version: use super bulky chenille yarn and a larger hook.
Why This Is a True No Sew Octopus
The eight tentacles are crocheted directly into the body loops, so there are no separate arms to position, pin, or attach. The only needle work is closing the final six stitches and hiding the yarn tail. That makes this project especially useful if sewing small amigurumi parts is the step you enjoy least.
For more projects built around the same idea, see our complete collection of easy no sew amigurumi patterns.